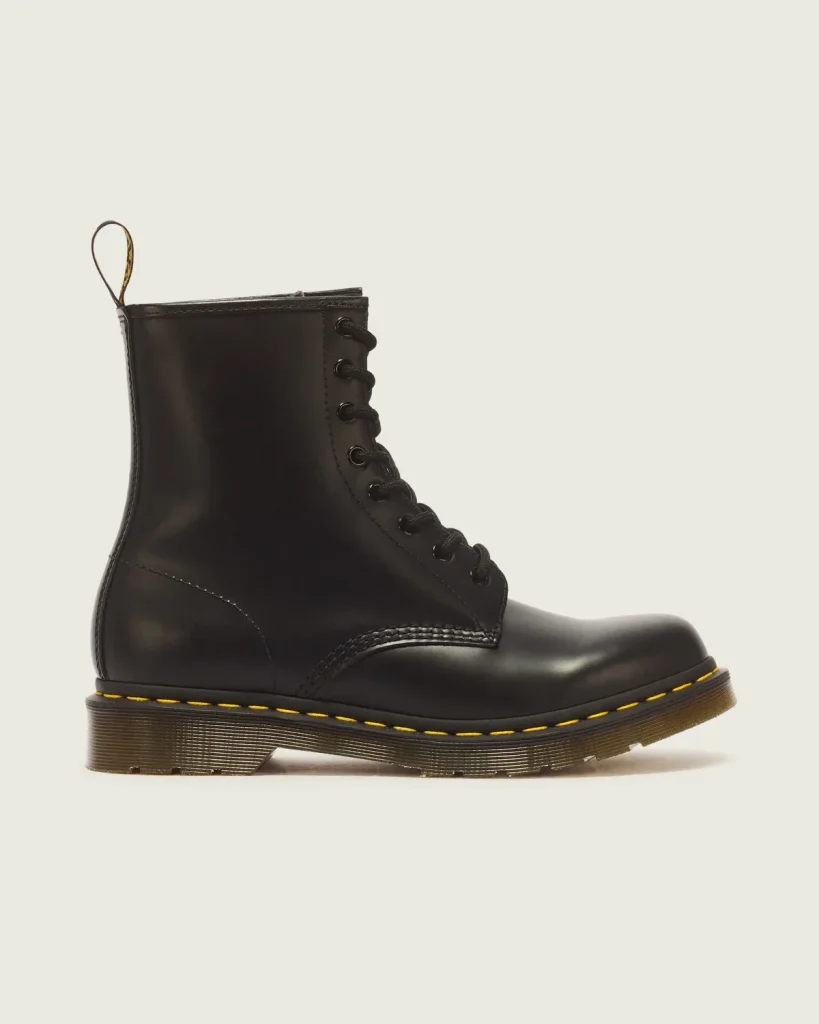
Reset before tightening
Loosen several rows so the foot enters without forcing the heel. Pull the tongue flat and seat your heel before removing slack from the bottom upward. Tightening only the last row often leaves loose sections below and concentrated pressure at the top.
Separate the pressure zones
Notice whether the forefoot, instep or ankle needs adjustment. Change tension a little in one area and walk again before changing another. Laces can alter how the upper holds the foot, but cannot create extra toe length or fix a shape that presses painfully.
Try a small window
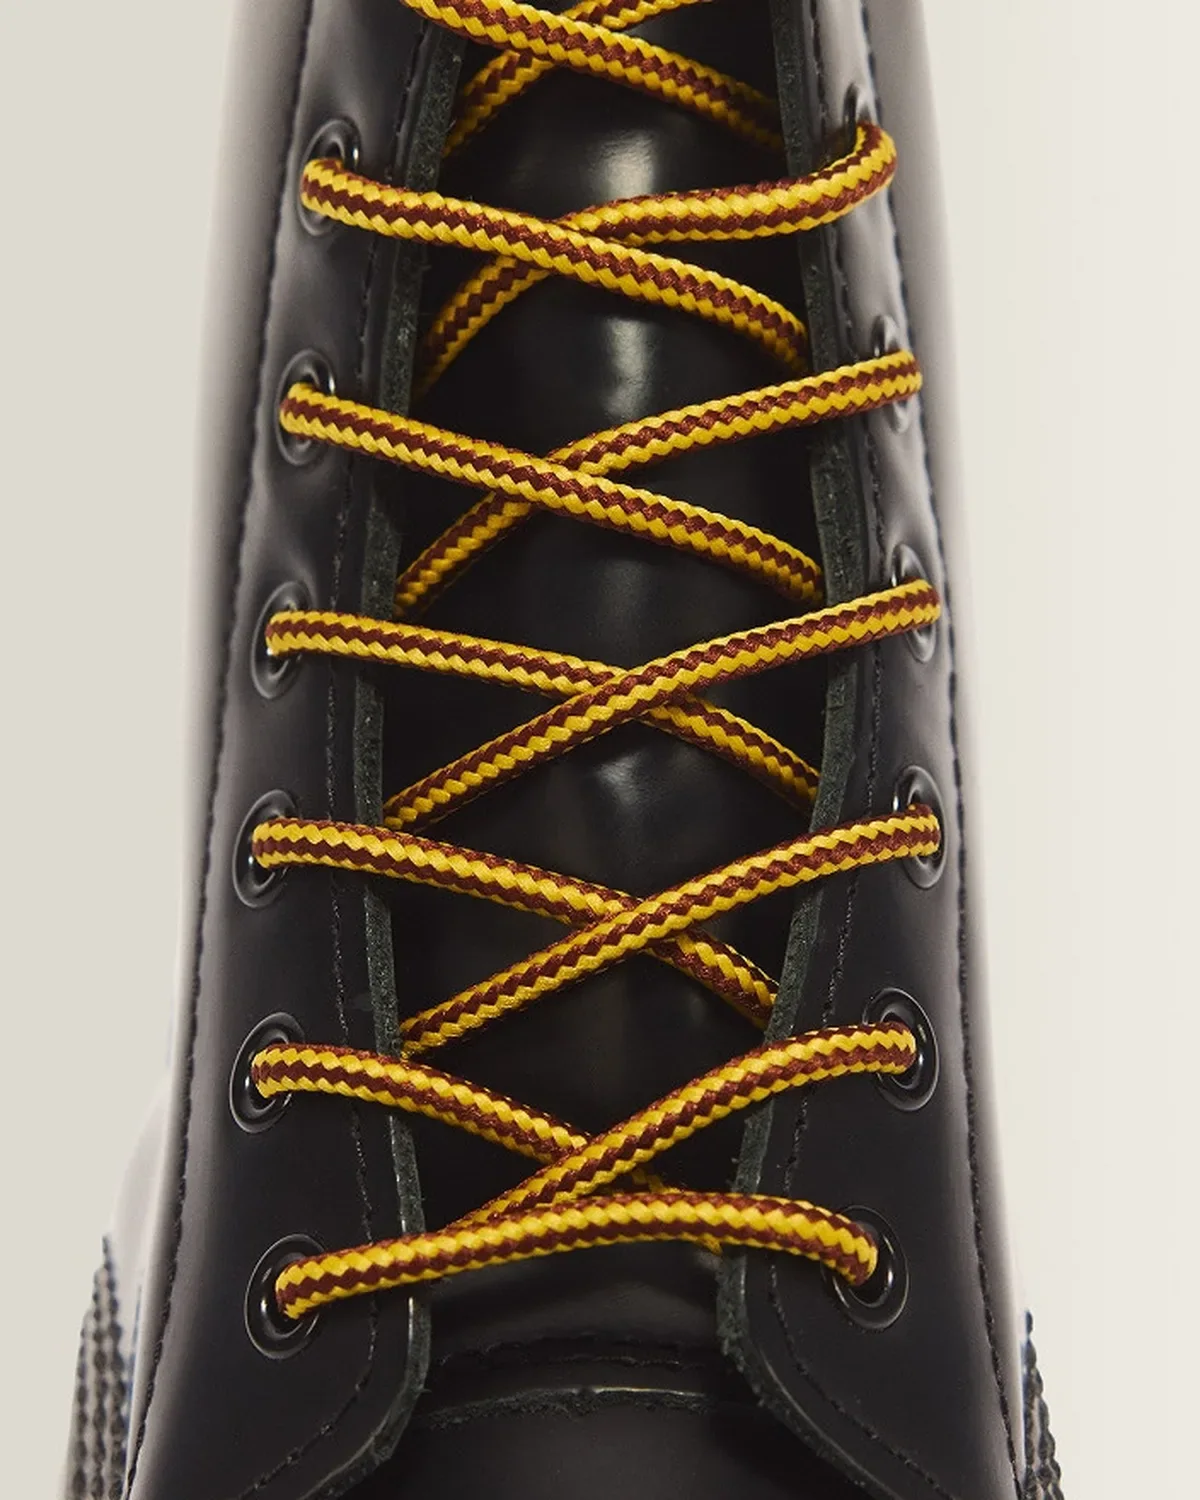
For local pressure beneath a crossing, you can trial running each lace vertically to the next eyelet on the same side before crossing again. This leaves a small window over that area. Test indoors and abandon the pattern if it makes the foot less secure or moves pressure elsewhere.
Keep the tongue in place
Before tying, smooth the tongue and check that its edges are not folded beneath the upper. If it has a lace keeper, thread it as intended. A sliding tongue may need regular resetting; persistent movement and rubbing can indicate a fit that needs reassessment.
Finish with a secure bow
Leave enough lace to tie a bow that holds during normal walking. Keep loops and ends short enough to avoid the opposite shoe or the ground, and tuck them safely if needed. Replace frayed laces with a suitable length and thickness for the eyelets.
Recheck after a few minutes
Walk, turn and sit, then notice any change in pressure. Retie if the upper settles or tension becomes uneven. Stop if you feel pain or numbness. Make sure you can remove the shoe without a struggle; loosening the laces at the end also protects the heel shape.
Wear what works for you. Make the story your own.